Saturday, December 9, 2017

PAAL KOZHUKATTAI (WITH JAGGERY)

With very few days left to start the New Year, when I recollect, I am not definitely not the same person as I was a year ago.  Experiences have shaped myself as a better person.  I have met my short term goals and working on achieving my long term objective.  Am not sure what's in store for me for future but I hope with the experiences that I have cultivated I would be able to handle obstacles in a better way. 

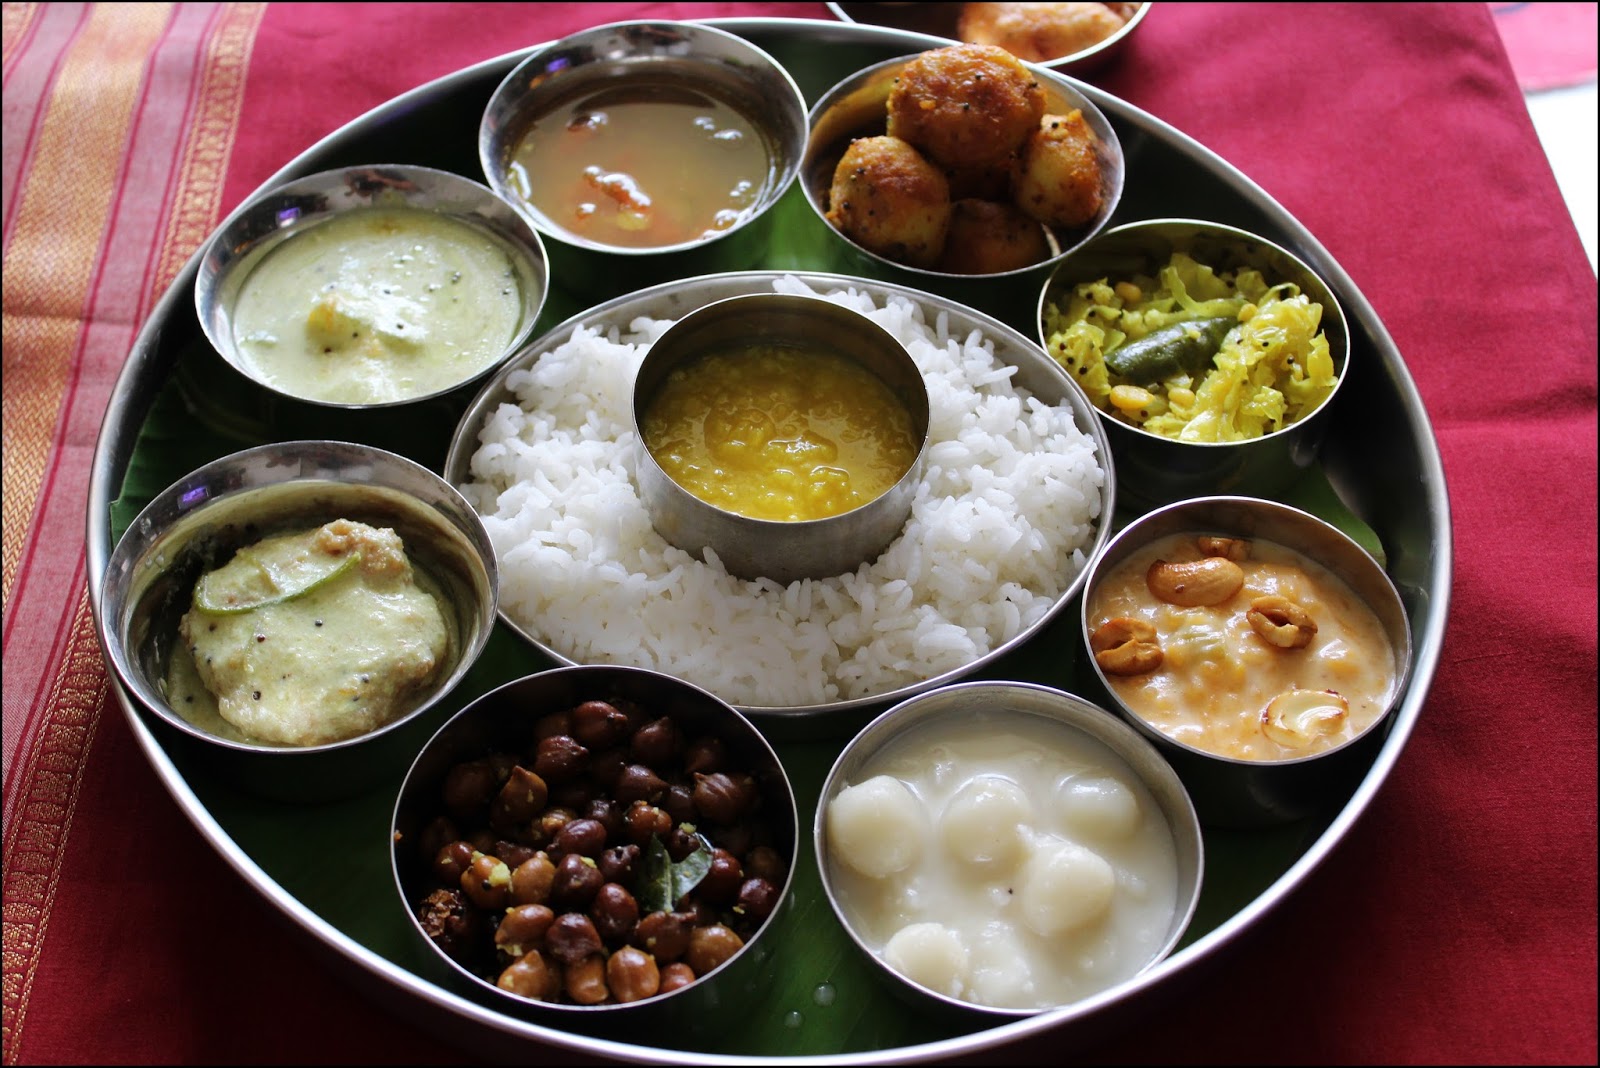
Moving on to today's dish, Paal Kozhukattai, it is a very popular Chettinad sweet made with rice flour which is cooked in jaggery or sugar added with milk/coconut milk.  I like the one prepared with Jaggery.  There are many variations to this and I was not getting the correct texture of this dish earlier. Whenever I add jaggery to the milk, it would start to curdle.  Later checked with mom and got to know the right procedure of preparing this sweet.  Prepared this many times in the recent times and has come out perfectly.  This is a foolproof recipe and you would end up loving the final texture and taste of the dish.  


INGREDIENTS:  
Milk - 1 cup
Rice flour/Idiyappam flour - 1 cup
Thick coconut milk - 1 cup
Thin coconut milk - 1.5 cup
Cardamom  powder - 1 tsp
Oil - 1 tsp
Grated Jaggery - 1 cup 
Salt - a pinch
Water - approximately 3/4 cup (for dough preparation) + 1 cup (added to thin coconut milk)
Grated coconut  - 2 tsp

PREPARATION:
1.  Boil milk and keep aside.  Let it cool completely.
2. Grate the coconut and extract the first thick milk and second thin milk separately.  
3.  In a vessel, boil water, add a pinch of salt and oil to it.   Take rice flour in a bowl, pour the boiled water, and mix well with a ladle.  When it is warm, mix the dough well and make it smooth.
4.  Take small portions from it and make tiny little balls of equal size as shown in picture.
5. Grate jaggery and keep it aside.   
6.  Now heat the thin coconut milk adding 1 cup of water to it.  Once it starts boiling, gently drop the rice flour balls.  Do not turn it with ladle immediately.  After 2 minutes, turn it gently and drop the next kozhukkattai batch.  Likewise, add all the kozhukkatai and let it boil in small to medium flame.  After sometime, you would start seeing the rice flour balls floating at the top with mild change in color.  If you see the picture, you could make out that the rice ball is cooked.  Let it cook for 5 more minutes.  

7.  Add the grated jaggery slowly to the milk-rice ball mixture and stir well.  In between, add a small tsp of rice flour and mix with water without any lumps.  Add this to kozhukkattais and mix well.  This is to done to bring the dish in thicker texture.  Let it boil for 3 more minutes.  Keep stirring in between.
8.  Add the cooled milk slowly and stir well.  The milk should be completely cold when you add to the hot kozhukktattis.  Otherwise, it would start to curdle.  
9.  Add 2 tsp of grated coconut and elachi powder to the kozhukattais.  After 3 minutes, switch off the flame and add thick coconut milk.  Do not boil after adding the thick coconut milk.  
Now yummy Paal kozhukkattais are ready to be served.


Saturday, November 11, 2017

PACHA SUNDAIKKAI SAMBAR (TURKEY BERRY SAMBAR)

The weather is chill, windy and pleasant.  As I sit on the couch, watching my favorite illayaraja songs with laptop in hand, I  couldn't stop myself pouring my random thoughts.  It's been a while I posted something on my page but that doesn't mean I had completely stopped the background work.  I still work on taking step by step pictures when preparing some dishes, gaze over the main pictures that I had taken, and learn the nuances of photography on my own by reading something related to that.


Every time I thought to write something, it would be something or other that would pop up and hinder my thoughts.   Both DH and MDS (My Dear Son) are out of home, went for cricket coaching, I had no one to interrupt my work.  Of late, we are seeing that MDS interests are more towards cricket and based on his plea we joined him in a coaching center.  The coaching center has a big garden inside where they yield many types of greens and vegetables.  DH would love to buy freshly plucked varieties of greens/veggies and ask me to prepare something out of it.  One time, he got freshly plucked Turkey Berries and I made sambar with it.  

Turkey Berry has lot of medicinal benefits; it increases red blood cells thus help in treating anemia, indigestion, menstruation, etc.  

INGREDIENTS:
Turkey Berry - 1 cup
Tomato - 1
Onion - 1
Sambar Powder - 2 tsp
Cooked Thoor Dhal - 1 cup
Salt - to taste
Oil - 2 tsp
Tamarind Water - 2 cups (Extracted from tamarind pulp)
Green chilly -2
Curry leaves - few
Mustard seeds - 1 tsp
Asafoetida powder - a pinch

PREPARATION:
1. Soak tamarind pulp in warm water for 10 minutes and extract the tamarind water.

2. Pressure cook thoor dhal with enough water and keep it side.
3. Wash and slit the turkey berry in the middle as shown in the picture.
4. In a kadai/pan, add oil and throw in the tempering items; first mustard seeds and when it sizzles, add curry leaves and green chilly followed by a pinch of asafoetida powder.

Add sliced onions and when it browned, add the tomatoes and turkey berry   Add salt and sambar powder and mix well.  Add extracted tamarind water and let it boil for 15 minutes until the raw smell of tamarind goes off and turkey berries have booked soft.  Add the cooked mashed thoor dhal and mix well.   Let it boil some more time, say for 2-3 minutes.  The consistency should neither be too thick nor too watery, so adjust the thickness accordingly.  Switch off the flame and add coriander leaves for garnishing (Optional). 

5. Serve this sambar with hot cooked rice with a tsp of ghee and I bet you would intake few spoons extra unavoidably .  

Saturday, October 7, 2017

KUNUKKU (SPICY LENTIL FRITTERS)

Back home 2 weeks back after a short stay away from home, am completely relaxed now.  With back to back trips at short intervals, I was feeling homesick and my mind was wavering with restless thoughts.  Home is not just a place and it is a feeling which couldn't be described in words.  On the day of my return, mom prepared her specialty dish Kunukku for me.  It's a deep friend snack made with ground rice and lentil mixture along with redchillies and salt.  The preparation is same as that of Adai but the batter has to be ground in thicker texture.  You can vary the recipe by adding finely chopped mixed vegetables such as carrot/ cabbage or just add onions which enhances the flavor and taste.  I forgot to take  step by step picture as I was busy chit chatting with family. 
Ingredients:
Idly rice - 1 cup
Toor dhal - 4 tsp
Bengal gram - 4 tsp
Urad dhal - 2 tsp
Asafoetida powder - a pinch
Red chillies - 6
Salt - to taste
Onions - finely chipped (Optional)
Curry/coriander  leaves - finely chopped
Oil for deep frying

Preparation:
1. Soak rice and dhal separately for 3 hours and  grind to a slightly coarse paste adding salt, red chillies, and asafoetida powder.
2. Add finely chopped onions if needed, in a kadai, heat oil, drop in small spoons of batter and deep fry until golden brown. 

Tasty snack is ready to be served.  There is no side dish required for this dish and can be taken as a starter/appetizer.

Thursday, August 31, 2017

POORI - DEEP FRIED WHEAT BREAD

Wow, what an awesome start of the day...Off to work and it's raining here.  Is there anyone who doesn't love rains.  As the day progresses, I have many personal errands to run but I stand still now to enjoy the current moment. There is nothing more comforting for me other than sitting on my favorite spot on the couch, looking outside through the balcony, watching rains, with a coffee cup in hand and of course with my favorite melodies playing on background..I was emotionally and physically tired with many things these days and this is kind of soothing relaxation.

The little girl in me find happiness in coming here for blogging.  This is a page where I could pour my random thoughts with no restrictions.  Whenever I sit for blogging, I feel relaxed, calm, creative, my mind is getting sharper...I am sure when I  get old, when I reread my posts, I would recollect and cherish the moments more than my recipes.

Let's move further on to the recipe, Poori, a very popular and lovable dish for Indians.  When I was out for a business trip last time,  I went to an Indian restaurant with one of my good International friend.  He was raising his eyebrows when this dish was served at the table next to us and was inquisitive to know about it.  He asked me if I would be able to make those puffed pooris and curiously asked me about the preparation.  Then I realized I have not posted this dish and when I made the next time, I remembered to capture the pictures for the sake of blogging. 


Poori is made from whole wheat flour, salt, and dough.  Deep fried in oil, needless to say about its calorie count :-).... Some add a tsp of sooji rava to the mixture to make it crispy, but somehow I find my pooris to be crispier and puffy without even adding it, so I never wanted  to add extra item to my preparation.  

INGREDIENTS:
Whole wheat flour - 2 cups
Salt - to taste
Water - 1 cup
Oil for frying 

PREPARATION:
1. In a large bowl, mix whole wheat flour, salt, add water little by little, knead well, and make a smooth dough.  Kneading to smooth dough  is the most important step to have puffed pooris.  Divide the dough into equal lemon-sized balls. 
2.   Take each dough ball, dust some flour to the rolling board, roll the dough into small circular disc.  Similarly make pooris for the remaining dough balls.
3. Heat oil for deep frying.  Drop one poori into the oil, let the poori start raising slowly, once it raises, flip it with a ladle to cook it on the other side.  During cooking on both the sides, gently touch at the corners with a ladle to puff it up.  

4. Take the poori out and similarly deep fry remaining pooris.
5.  Poori is a very versatile dish which can be served with jam, pickle, chutney, sugar or any curry.   I served with the best combination, Potato masala :-).  


Saturday, August 19, 2017

TINDORA MASALA BHAAT - KOVAIKKAI(IVY GOURD) RICE

Back home a week ago and still in the settling mode.  Right from back home, everyday is a busy day in one or the another kind.   Jr.H turned 10 years last week, I feel great about it.  Motherhood has made me to be stronger, increased my willpower, strengthened my endurance and perseverance, boosted my creativity and had helped me to shape myself as a better version.  

Last weekend went quickly on weekend mode purchases and cleaning stuffs.   Start of the week was a festive day which made me super busy at home.  We celebrated Krishna Jeyanthi on Monday and I prepared homemade traditional snacks and sweets for it.   Here's visual treat for you :-)..

With life driving me through multiple priorities both at work and personal level at the same time, I am trying my best to deal with it patiently.  I find no time to sit for blogging and many of my colleagues have already started asking for my next post. Juggling between work and personal roles and duties isn't easy.  When I return back home after long work hours and challenging work pressures, I need to charge myself fully and act immediately upon family requests.   For next few weeks, it's going to be maddening busy schedule and am preparing myself for it. 

The work is with very demanding schedules and dealing with a bigger responsibility.  In between, health is not cooperating much and kind of feeling ill and exhausted, so I took complete rest today without moving out from home. 


For lunch, I prepared one of family's favorite, Tindora Masala Bhaat - Kovaikkai Rice.  Everyone in the family like this vegetable (Ivygourd) very much.   I used homemade vangibath masala powder which enhanced the flavor to the dish.  The crunchy textured tindora blended well with masala powder and the spicy aromatic rice went well with pappads and plain curd.


Ingredients: 
Cooked Basmatic rice - 2 cups
Kovaikkai/Ivy Gourd - 300 g
Onion - 2 (sliced thin)
Chilly powder - 1 tsp
Turmeric powder - 1 tsp
Vangibhat powder - 3 tsp
Salt - to taste
Oil - 5 tsp

For the Vangibhat Powder (dry roast and grind):
Asafoetida – a small piece
Red chilies – 8-10 (adjust according to your spiciness level)
Bengal gram – 4 tsp
Urad dal – 4 tsp 
Coriander seeds/dhaniya – 4 tsp
Peppercorns - few

To Temper:

Mustard seeds - 1 tsp
Bengal gram - 1 tsp
Urad dhal - 1 tsp
Cinnamom - 1" inch piece
Cloves - 5-6
Curry leaves - few

Preparation:
1. Wash and cut the ivy gourds length wise and slice the onions thin.  

2. Soak basmati rice for 15 minutes in warm water and pressure cook for 2 whistles.  Allow it to cool once the pressure releases.  This can be varied with normal rice too.

3.  Dry roast the items given in the section "Dry roast and grind" and make the masala powder ready.  I usually have this ready made in my kitchen shelf.  I make in smaller quantities and use it for a week which would  help me a jiffy weekday.
4.  In a heavy bottom, throw in the tempering items one by one and lastly add the onions and little salt for the onions.  Once the onions turns slightly brown, add the cut ivy gourds (tindora vegetable) and add remaining salt, turmeric powder.  Cook in medium flame for 10 minutes turning in between, this would make the vegetable softer and crispy.
5.  Once the vegetable has cooked softly, add chilly powder and masala powder and mix well.  Keep in high flame for 3-5 minutes until the powders blend with the vegetable.
6.  Add the cooled cooked rice and mix gently.  Care must be taken not to make the rice mushy, so you have to mix gently.  Check for salt and can be added if needed.  You can reduce the masala powder to suite your family spice levels.  

7.  Masala bhaat is ready to be served.  I served with plain curd and pappads which accompanied the dish very well.  I also prepared tomato rasam and bhindi fry for lunch and it turned out to be a complete meal today.


Friday, July 28, 2017

PALAK PULAO - SPINACH RICE

One of the post from my draft.   Away from family, missing everything.   When I gaze outside through the window of my room, I could see a beautiful World.  The high rise buildings are adding a beauty to the city.  The facade of these units were lit with fancy lamps and the modern architectural design enrich the vibrancy of the city.  The whole city is moving to a delightful weekend mode and I could see a sense of relaxation in everybody's face.  Yet, I am in no mood of enjoyment.  I miss being at home, miss my little dumpling, miss my favorite comfortable spot in my couch, miss the smell of my home, miss the weekend cleaning stuffs, miss watering my tender ladies finger /spinach plants(Oh yeah! this is my latest interest, phew!!!) and above all I miss my cooking stuffs...


Without further list of missing things, I  quickly go to the recipe.  I have never tasted much of Palak recipes in my childhood and I started learning to include this greens only after my marriage.  At first, I learnt only to make Palak Paneer and slowly picked up other variation of dishes that I could do with this healthy spinach.  Now at least once in a week, I include this variety of spinach in my kitchen.  I have started growing my own spinach in my balcony terrace and it's growing much faster.  Here's the latest pic I got from home this morning.
Touching upon the recipe, this spinach rice is very easy to prepare, one pot, vegetarian meal  and quite perfect for lunch box.  To make it colorful, I have added carrots which brought very mild sweetish essence to the dish.  Also the addition of sweet corn kernels gave an attractive eye-catching look to the recipe along with sweetish delight on every bite.  Since potato is never a miss option at home, I added it as well which enhanced the taste of this meal.

INGREDIENTS:
Palak Leaves (tightly packed) - 2 cups
Carrot -2
Potato - 1
Sweet corn kernels - 1 cup
Onion - sliced thin - 1
Pudhina/Mint leaves - handful
Red chilly powder - 1 tsp
Oil - 3 tsp
Ghee - 2 tsp
Basmati Rice - 2 cups
Salt - As desired.

To grind:
Garlic pods - 3-4
Ginger - 1" piece
Green chilly - 2
Sauté Palak leaves

To temper:
Bay leaf - 1
Cinnamon - a small stick
Cloves - 4-5

Preparation:
Discard Palak leaves from the stem separately and wash the leaves in running cold water.  Sauté in a pan for a minute until the leaves get shrunken.  Don't sauté for a longer time as the beautiful greenish color might change.  Let it cool for some time.
Meanwhile soak basmati rice in warm water for 15 minutes and drain the water completely. 
Keep the pressure cooker on medium flame and throw in the tempering items one by one.  When the tempering items sizzles, add mint leaves followed by sliced onions.  When the onions turns brown, add tomato , cut vegetables, and salt.  After a minute or two, add the ground green masala from sauté spinach leaves and mix well.  Lastly, add the chilly powder and sweet corn kernels.  Finally, pour in 3 cups of water (1:1.5 ratio) and add the drained rice and two teaspoons of ghee.  Pressure cook for one whistle.  Allow until the pressure releases, mix well, and now a healthy meal is ready to be served.


Wanna to grab a teaspoon for taste, here it is :-)

Sunday, June 18, 2017

MYSORE RASAM

While all the people at home are watching India-Pak Match, I am diving into blogging to enjoy my  "Me" time.   Already am down with Monday blues and sadly thinking about my handful of chores in my to-do list for the upcoming week.  The weekend was quite stressful as I accidentally fell yesterday while cleaning home and halfway through cooking.   Felt an excruciating pain at foot for the initial few minutes, later I managed the cooking and other house chores in slow motion but as the day progresses my entire ankle was hurting and swollen.  I was not able to walk and felt pain at every step.  DH applied all sorts of home treatment - applying oil, massaging, ointment, pain reliever spray and nothing worked out.  Finally, I was pushed to the stage of taking over-the-counter medication at night.  I slept uninterruptedly and when I woke up this morning, the pain had reduced.  I was able to walk though felt mild pain at every step.  Am getting better after the second dose of medication.


Due to the above incident, I kept the cooking on the lighter side yesterday and prepared only rasam.  For the benefit of my international friends who follows my blog, rasam is a thin soup made with tamarind and Indian spices.  It is eaten with rice and acts as a perfect appetizer.  There are many variations of rasam and I prepared Mysore Rasam yesterday.  It is a recipe from Karnataka Cuisine in which the Indian spices are roasted and ground with coconut.  The aromatic flavor fills the entire home when you prepare this rasam, stimulates your digestive system, and acts as a healthy traditional appetizer.  I do not remember exactly when I fell in love for this rasam, I would just drink it as a soup whenever I prepare this at home.


INGREDIENTS:
Tamarind water (extracted from tamarind pulp) - 2 cups
Cooked Toor dhal -  1/2 cup (small)
Tomatoes - 2
Salt - to taste
Turmeric powder - a pinch
Ghee - 1/2 tsp

To roast and grind:
Pepper - 1 tsp
Toor dhal - 1 tsp
Coriander seeds - 1 tsp
Red chilly - 1
Coconut - 1 tsp
Jeera/Cumin - 1 tsp

To Temper:
Mustard seeds - 1 tsp
Red chilly - 1 or 1/2
Curry leaves - few

Preparation:
1. Soak tamarind pulp in warm water for some 10 minutes and extract the juice from it.  Keep aside.
2.  Cook Toor dhal in pressure cooker adding water and mash it well.
3.  In 1/2 tsp of oil, roast the items given under section "To roast and grind" except coconut and jeera.  Add the coconut at last part of roasting and switch off the flame.  At the time of grinding, add the jeera/cumin seeds and grind it to a smooth paste adding little water.
4.  In a vessel, add tomatoes and mash it by either squeezing them using a wooden spatula /fingers, or use a blender.  Add the extracted tamarind water to it.  Add the required salt and turmeric powder to it and keep in flame.
5.  Boil for 10 minutes until the raw smell of the tamarind goes off.  Gently add the ground paste and mix well.  After a minute, add the cooked and mashed toor dhal and mix well.
6. When it starts to froth up, switch of the flame and temper it with mustard seeds, red chilly, and curry leaves in a teaspoon of ghee.  
The aromatic rasam can be mixed with steamed rice or can be taken as such as a soup. 

Below picture is taken at another instance for a special lunch..